

A new process launches, and the team gets a training session. Sixty minutes, forty slides. The policy overview, the refund types, the approval rules, six screens of the system, the exceptions, the FAQ. At the end, ten minutes for “Any questions?” Nobody has any. The next morning, people message their manager to ask how to do the thing they were trained on.
The deck was not wrong. Every rule was on it. The problem is what it was built to do. It was built to cover the topic. Training is meant to change what people can do afterwards, and those are different jobs.
This guide is for team leads, trainers, HR and operations managers, and founders who put together training or onboarding sessions with slides. It covers why training decks turn into manuals, a simple structure that builds practice into the session, how to design exercise and check slides in PowerPoint or Google Slides, and what to give people to take back to their desks.
Why training decks turn into manuals
Most training decks start from the source material: a policy document, a process map or the system’s help pages. The natural move is to turn each section into slides, in order. The result is complete, accurate and long.
Completeness feels responsible. If a rule is left out and someone gets it wrong later, the trainer worries it will look like the training missed it. So everything goes in, and the deck becomes a reference document that someone reads out loud.
The cost is time. Every minute spent explaining an exception that comes up twice a year is a minute nobody spends trying the task they will do every day. In the illustrative 60-minute session above, 52 minutes go to slides and 8 to questions. Practice gets none.

Step 1: Start from what they’ll do afterwards
Before opening PowerPoint, finish this sentence: “By the end, you can ___.”
Compare two ways of describing the same session:
- A topic: “Overview of the refund process.”
- A task: “By the end, you can log a refund in under 2 minutes, without asking a manager.”
The first tells people what they will hear. The second tells them what they will be able to do, and it gives you a way to decide what goes in the deck. Every slide either helps them do that task, or it moves to the written guide they take away. Rare exceptions, background on why the policy exists and the full list of edge cases are useful, but they belong in the reference material, not in the 60 minutes you have with the group.
If you cannot write one sentence, the session may be trying to do too much. Two tasks can be fine. Six usually means the session should be split.
Step 2: Show, try, check, then repeat
The structure that turns a lecture into training is simple: show the task, let people try it, check they got it, then move on to the next task. Repeat the cycle in short blocks instead of explaining everything first and practicing at the end.
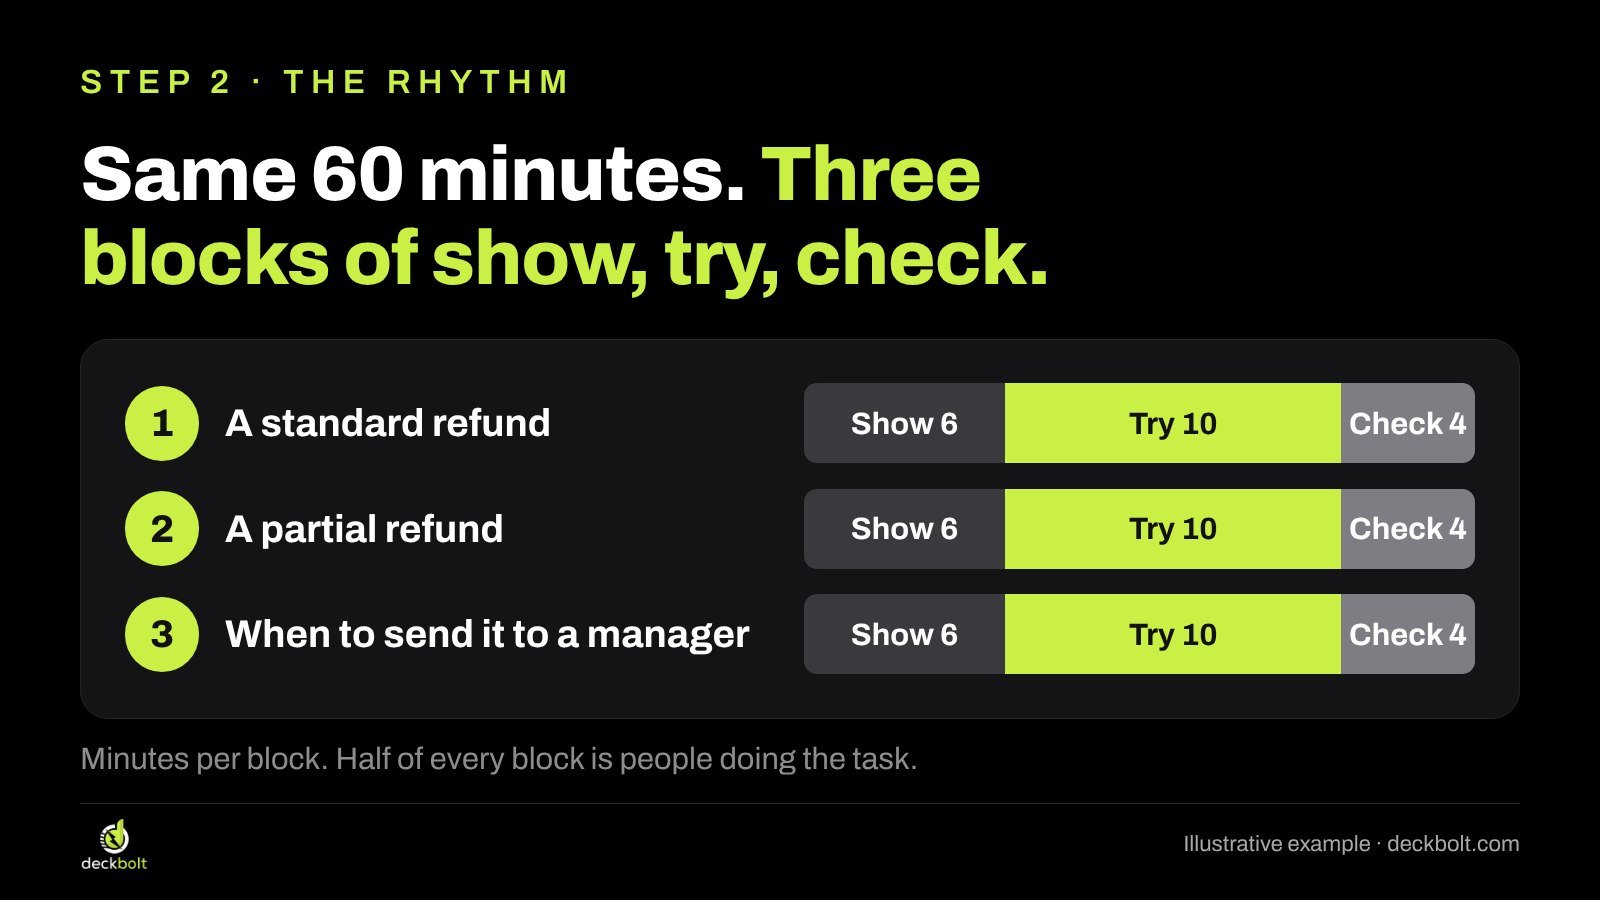
Here is the same illustrative 60-minute session, cut into three 20-minute blocks:
- A standard refund: show for 6 minutes, try for 10, check for 4.
- A partial refund: show 6, try 10, check 4.
- When to send it to a manager: show 6, try 10, check 4.
Half of every block is people doing the task, and the first practice starts inside the first 20 minutes. If something is unclear, you find out in block one, not after the session ends.
For the “show” part, walk through one real case from start to finish rather than describing every option. A worked example of a single refund teaches more than a slide listing all the refund types. If you use screenshots, crop them to the part of the screen that matters and point to the one field people need, instead of showing the whole window.
How to build it: use section dividers between blocks so the structure is visible. In PowerPoint, Home → Section → Add Section lets you group slides by block and collapse them while you edit. In Google Slides there are no sections, but a simple divider slide with the block title does the same job for the room.
Step 3: Make the exercise slide do the teaching
During practice, the screen often goes back to the last explanation slide, or to a slide that just says “Exercise”. People then ask each other what they are meant to be doing.
Design the exercise slide so it can stay on screen for the whole practice time. It needs three things:
- The task: specific enough to start without asking. “Log this refund: order 4821, damaged item, $64.”
- The time: “10 minutes”, placed where everyone can see it.
- What done looks like: “The refund shows Approved.” People know when they have finished, and you can see who has.
Add what they need (“the order screen and the refund form”) and where to look if they get stuck (“step 3 in your guide”). Said once out loud, a task is easy to forget. On the slide, it stays in view.

How to build it: set up one exercise layout in your slide master (PowerPoint: View → Slide Master; Google Slides: Slide → Edit theme) with fixed places for the task, the time and the “done when” line. Every exercise in the deck then looks the same, and people learn where to look.
Step 4: Replace “Any questions?” with a real question
“Any questions?” rarely tells you whether people understood. Many people won’t ask in front of colleagues, and those who misunderstood often don’t know it yet.
Instead, end each block with a short question that tests the decision people will actually face. For example:
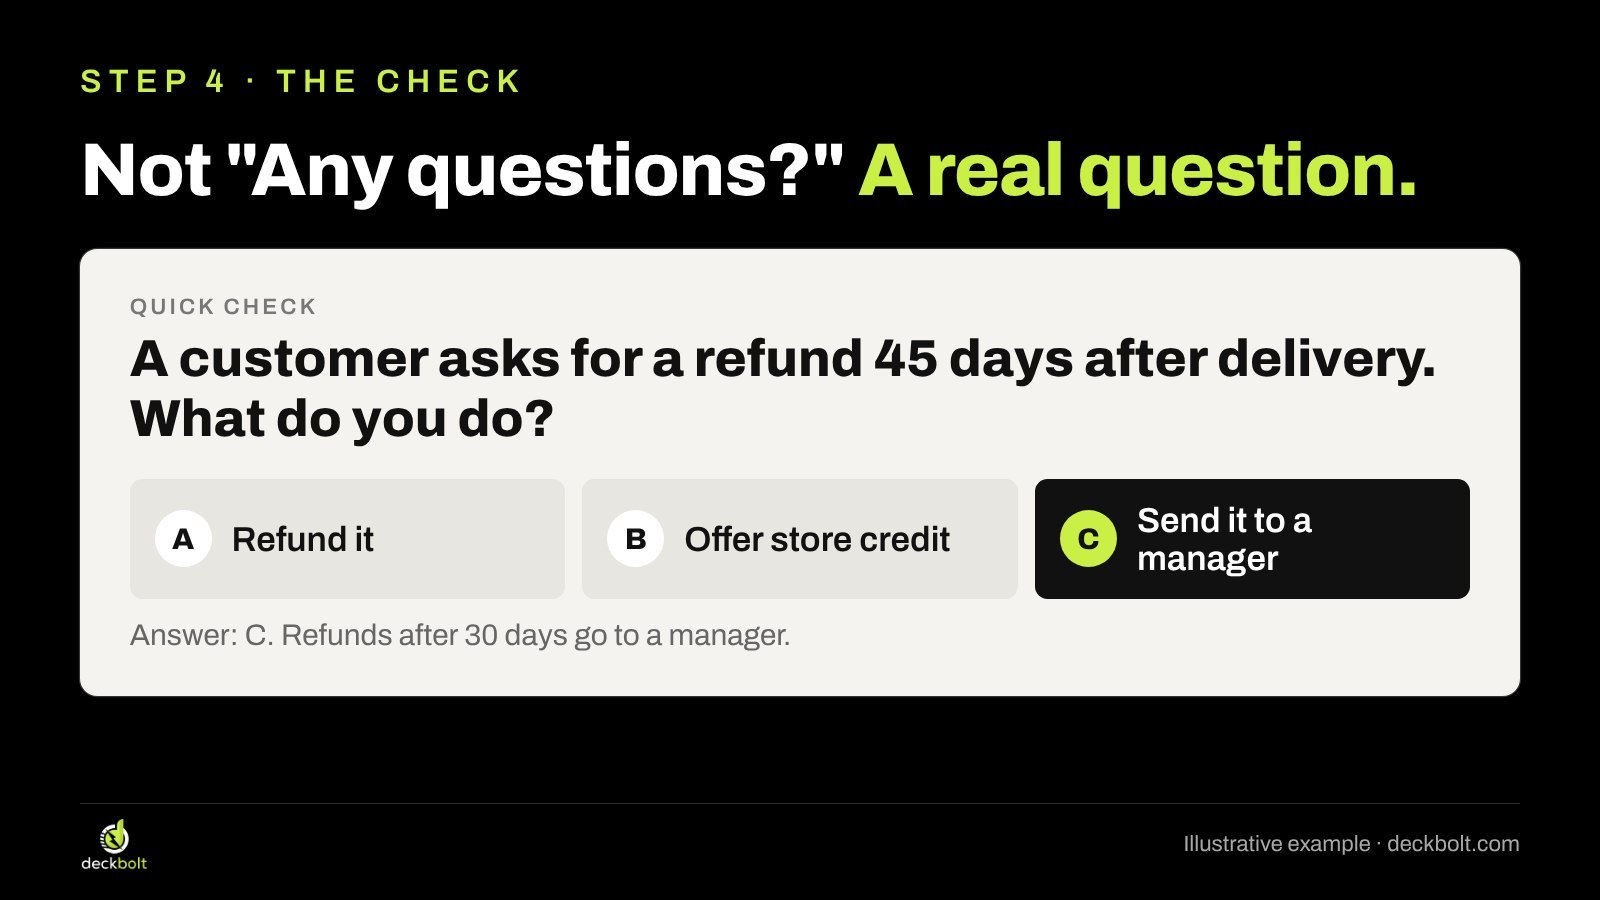
“A customer asks for a refund 45 days after delivery. What do you do? A. Refund it. B. Offer store credit. C. Send it to a manager.”
In this illustrative policy, refunds after 30 days go to a manager, so the answer is C. Ask people to answer together by a show of fingers, in the chat on a video call, or with a quick poll. The spread of answers shows you who needs another round before they are on their own.
Good check questions use a realistic case, have one clearly right answer and include wrong answers that people really do choose. If nobody would ever pick an option, it isn’t testing anything.
Step 5: Slides for the room, one page for Monday
After the session, the deck usually gets sent around as “the training materials”. But a deck built for presenting makes little sense without the presenter. The slides are short on purpose, and the explanation was spoken.
Give people a separate one-page guide instead, built to be used at their desk without you:
- The steps, numbered: open the order, choose the refund type, add the reason, check it says Approved.
- The rules that change the steps: ask a manager if the refund is over $200 or after 30 days.
- Where to find more detail, such as the full policy.
The slides stay big and sparse because they are for the room. The guide can be denser because people will read it closely when they need it. Trying to make one file do both jobs usually makes it bad at both.
A before and after
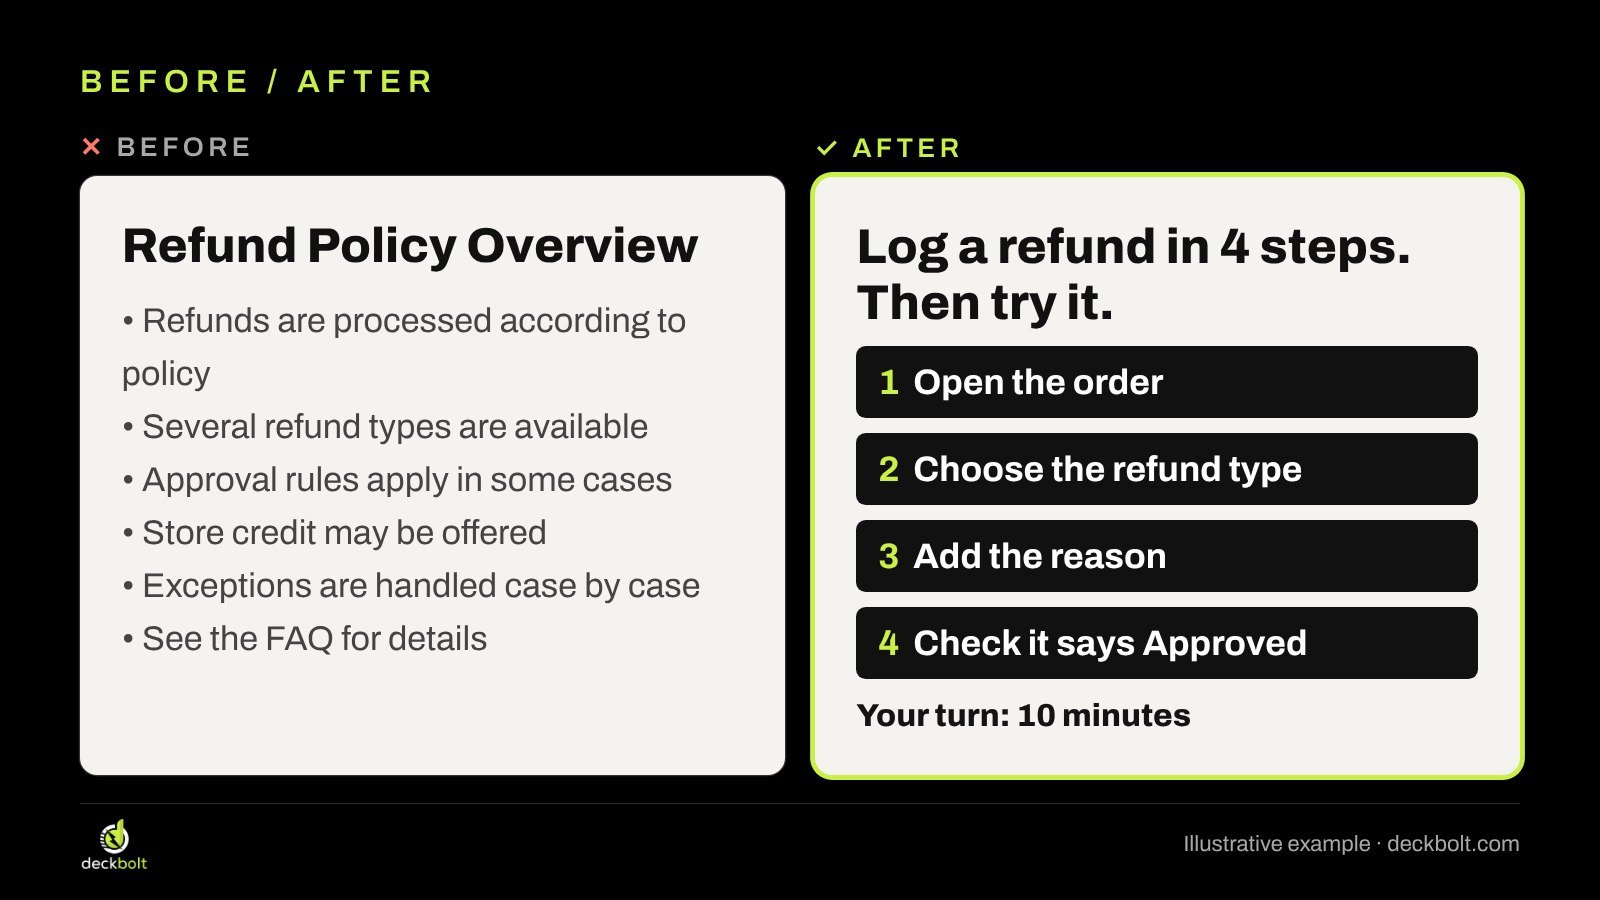
Before: a slide titled “Refund Policy Overview” with six bullets: refunds are processed according to policy, several refund types are available, approval rules apply in some cases, store credit may be offered, exceptions are handled case by case, see the FAQ for details. Every line is true. None of them tells anyone what to do.
After: a slide titled “Log a refund in 4 steps. Then try it.” with four numbered steps and a line at the bottom: “Your turn: 10 minutes.” The title is an instruction, the steps match the guide, and the practice starts straight away.
If your slides are full of text because the material feels important, our guides on slides with too much text and condensing text for slides show how to cut without losing meaning. Process steps also often read better as a simple diagram; see every bullet list is hiding a diagram.
Common mistakes to avoid
- Converting the policy document page by page. Start from the task instead.
- Saving all practice for the end. It is the part most likely to be cut when time runs short.
- Exercise slides that only say “Exercise”. Put the task, the time and what done looks like on screen.
- Checking with “Any questions?” Ask a real question with a right answer.
- Sending the deck as the reference guide. Write a one-page guide for that job.
- Heavy animation on every bullet. Use reveals only to show steps in order; our guide to presentation animation covers when it helps.
The training deck check
- Can you finish “By the end, you can ___” in one sentence?
- Do people try the task within the first 20 minutes?
- Does every exercise slide show the task, the time and what done looks like?
- Do you check understanding with a real question, not “Any questions?”
- Do people leave with a one-page guide, not the deck?
Note: the refund process, timings, order details and policy rules in this guide are illustrative examples.
Training people on something that matters? DeckBolt designs training, onboarding, sales and executive presentations in PowerPoint and Google Slides. Request a free deck review and we’ll show you what to change.
Need help with your next deck? See our presentation design services.